Little Church in the Snow
Christmas Collection · paid pattern
- Level
- Intermediate
- Pieces
- 28 pieces
- Fabrics
- 8 fabrics
- Time at 8 in
- about 3 h 30 min
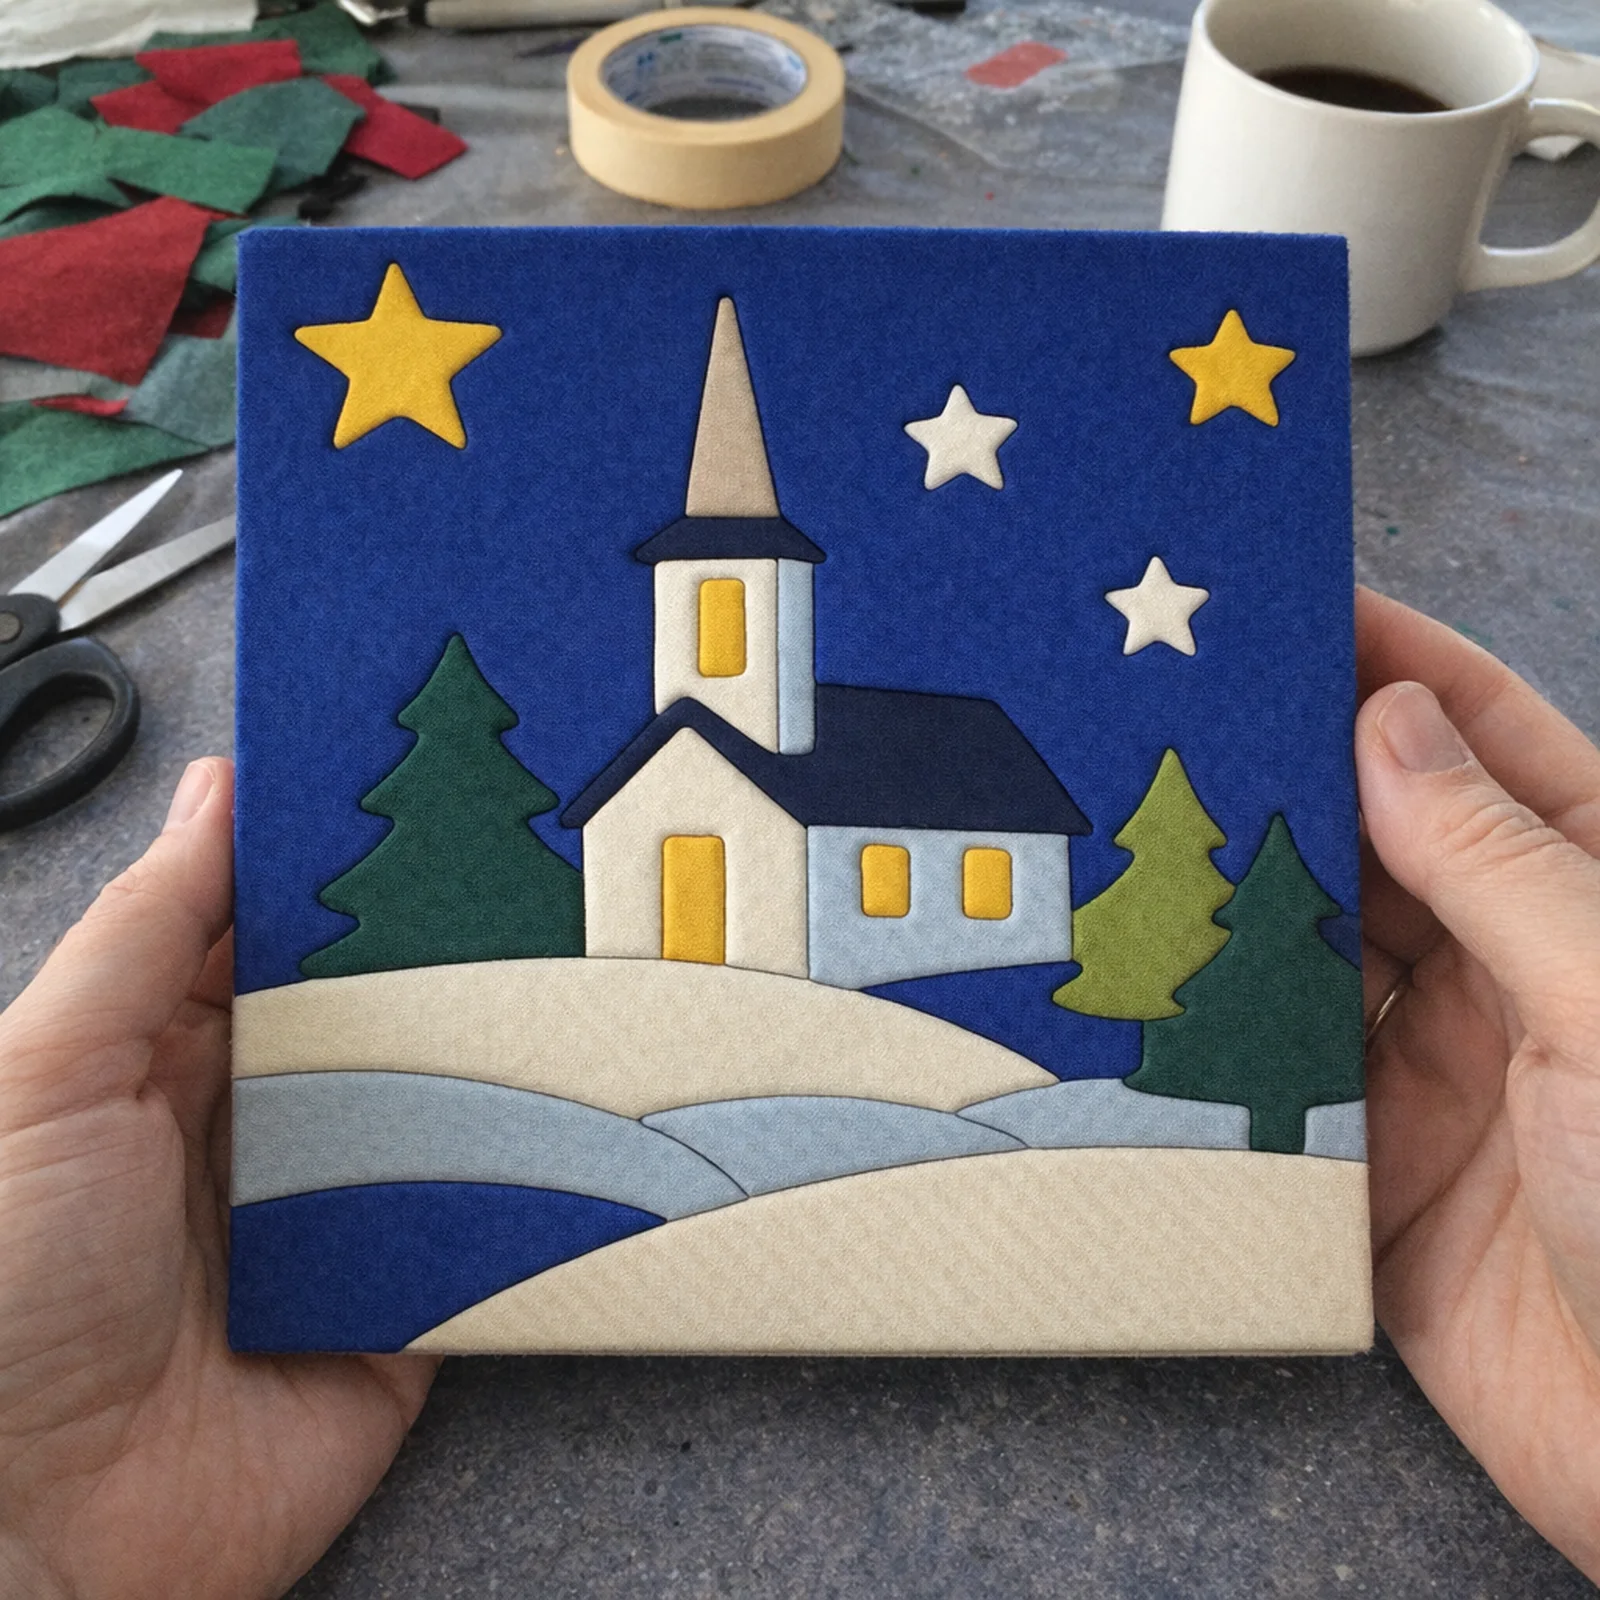
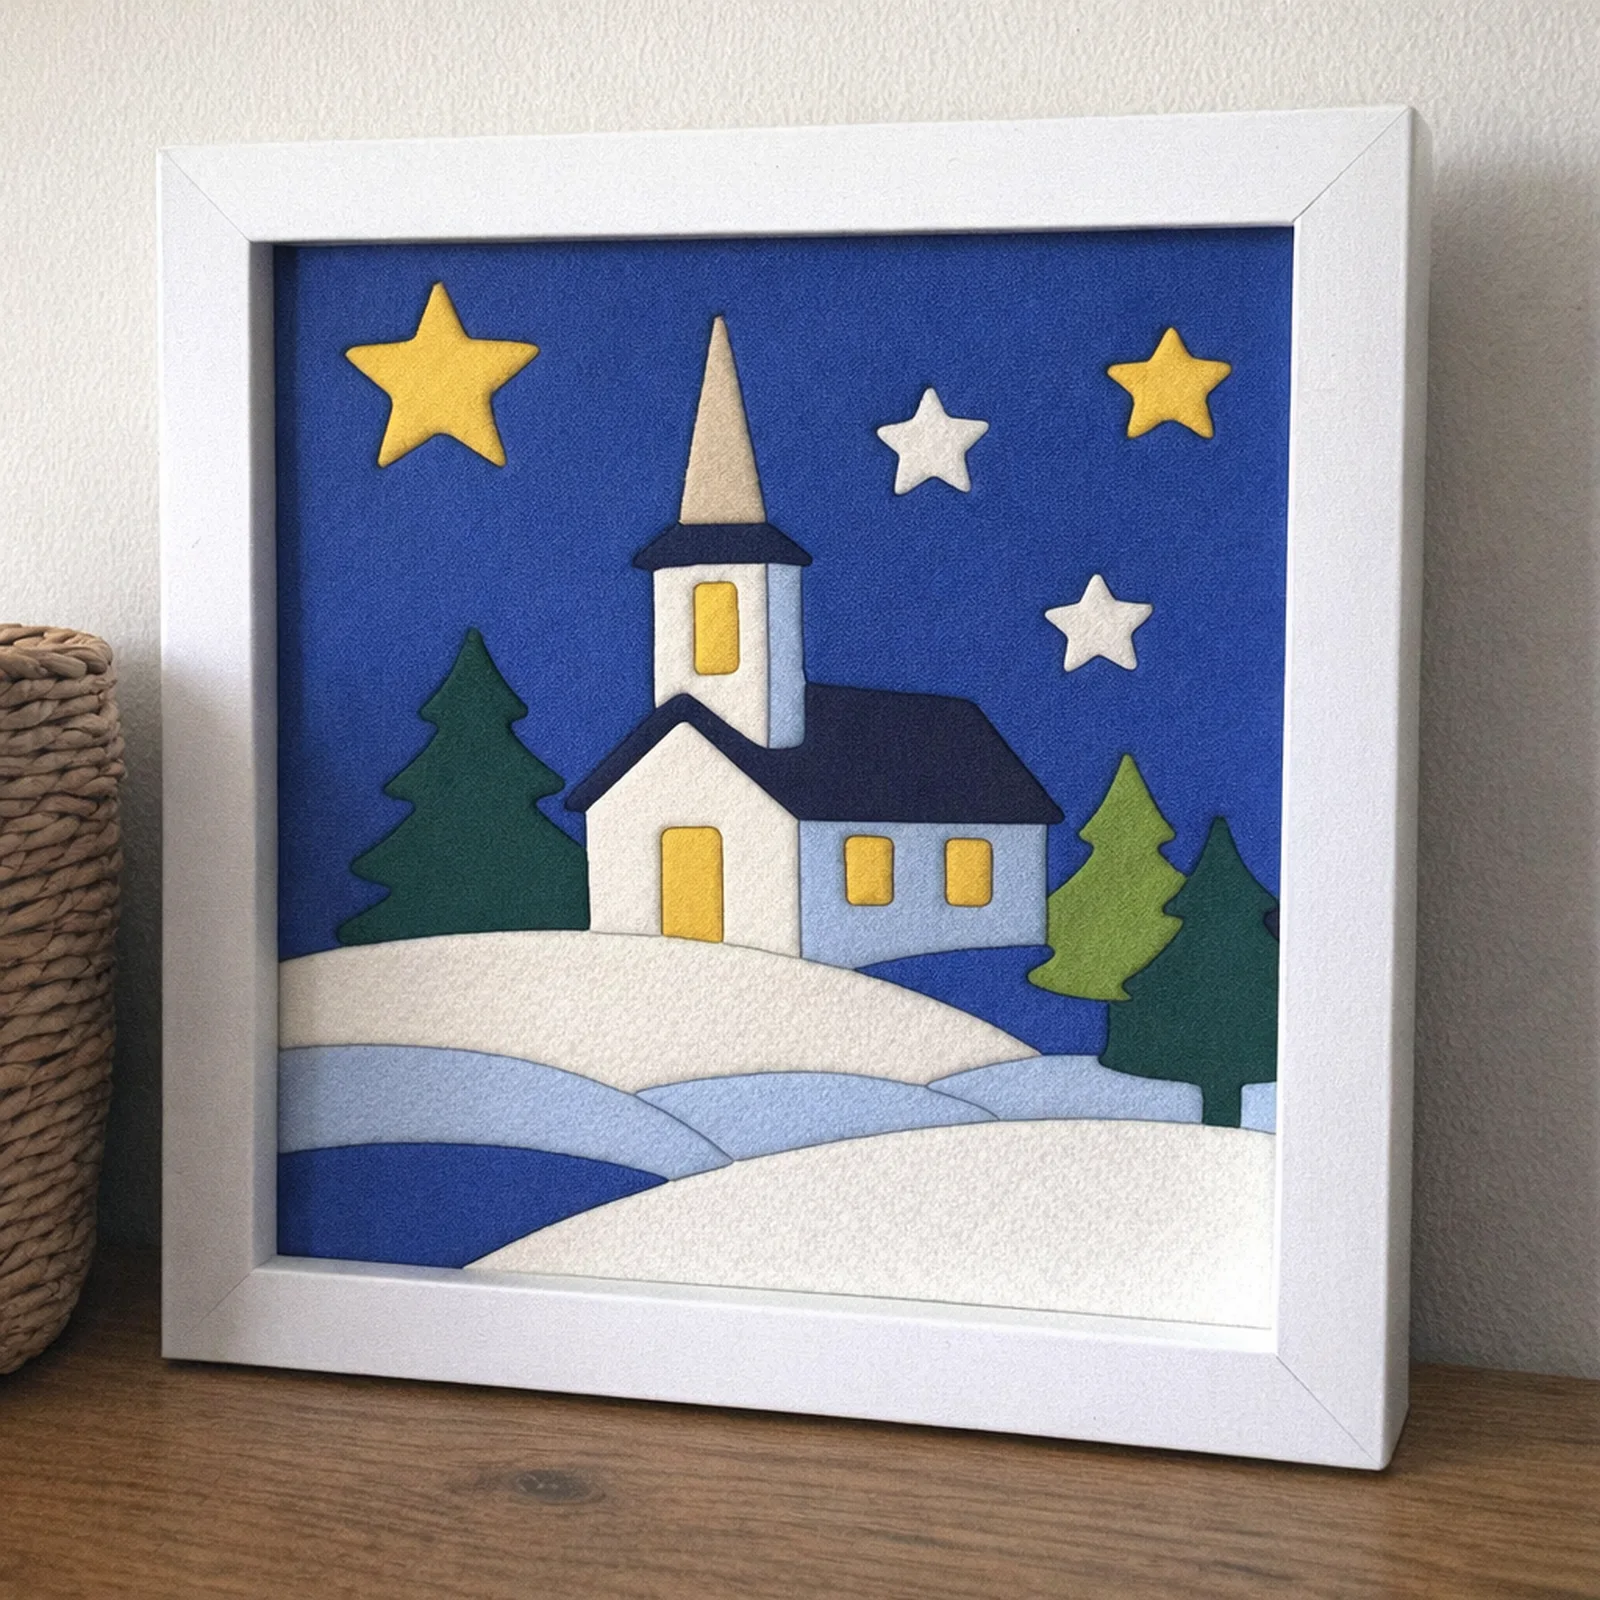
A little white church with lit windows on a snowy hill at night.

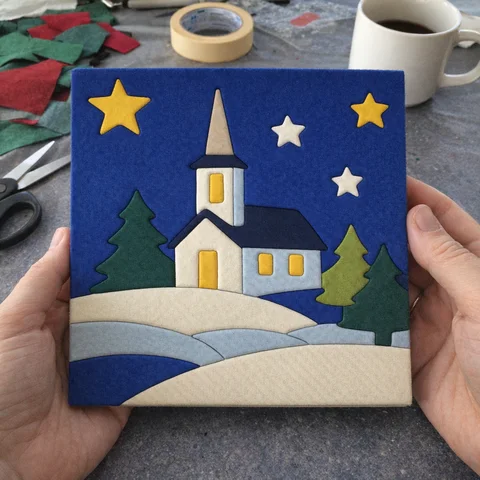
Christmas Collection
Little Church in the Snow is one of 24 new Christmas designs
- All 24 patterns, each with colour guide, fabric list and cut maps for 8, 6 and 5 in boards
- US Letter and A4 PDFs, plus SVG cut maps
- Instant download, yours to keep. Full refund within 30 days if it isn't for you
Or the All-Access Pass for $24: this collection and every future one.

Before you start
- Board size: best at 8 in. At 6 in, pieces 10, 6, 7, 16, 15, 22 get narrower than 7 mm. Use 1 in thick XPS foam with a double-sided adhesive sheet, scored about ¼ in deep.
- Edge pieces: 8 of the 28 pieces touch the board edge (5, 17, 21, 22, 23, 26, 27, 28). Cut them with about 1 in extra on the edge sides so the fabric wraps down the side, and remember a frame lip hides about ¼ in all round.
- Watch these pieces: 10 (7 mm), 6 (8 mm), 7 (8 mm), 16 (8 mm), 15 (8 mm), 22 (9 mm) are the narrowest at 8 in. Give them a thin cotton, an extra-generous margin, and tuck them last.
- Tucking order: start with the big pieces 5, 28, 21, 12 and work in to the smallest (16, 6, 10). Tuck the front grooves as you go and wrap the board sides at the end.
- Similar colors: D and E are close. Choose fabrics with a clear difference in lightness, or the shapes will blend.
Fabric list with cutting sizes
The numbered colour guide and the true-scale cut maps are in the PDF.
Sizes include ¼ in to tuck, and 1 in on sides that wrap the board edge. Rounded up to the next ¼ in.
| Fabric | Pieces | Biggest scrap | Total | |
|---|---|---|---|---|
| A Indigo | A Indigo | 3 pieces: 5, 19, 27 · 2 on the edge | 10 × 6¾ in83 sq in total | 83 sq in |
| B Cream | B Cream | 6 pieces: 3, 8, 9, 13, 17, 28 · 2 on the edge | 8¼ × 2¾ in49 sq in total | 49 sq in |
| C Powder blue | C Powder blue | 6 pieces: 10, 18, 23, 24, 25, 26 · 2 on the edge | 5 × 1¾ in25 sq in total | 25 sq in |
| D Pine green | D Pine green | 2 pieces: 12, 21 · 1 on the edge | 3 × 3 in17 sq in total | 17 sq in |
| E Midnight blue | E Midnight blue | 3 pieces: 6, 11, 22 · 1 on the edge | 4½ × 1¾ in12 sq in total | 12 sq in |
| F Gold | F Gold | 6 pieces: 1, 4, 7, 14, 15, 16 | 2¼ × 2 in12 sq in total | 12 sq in |
| G Leaf green | G Leaf green | 1 piece: 20 | 2½ × 2 in5 sq in total | 5 sq in |
| H Sand | H Sand | 1 piece: 2 | 2¼ × 1¼ in3 sq in total | 3 sq in |
Every fabric fits in scraps: the largest single piece at this size is 10 in long. A fat quarter (FQ) is about 18 × 21 in.
How to make it
Full step-by-step guide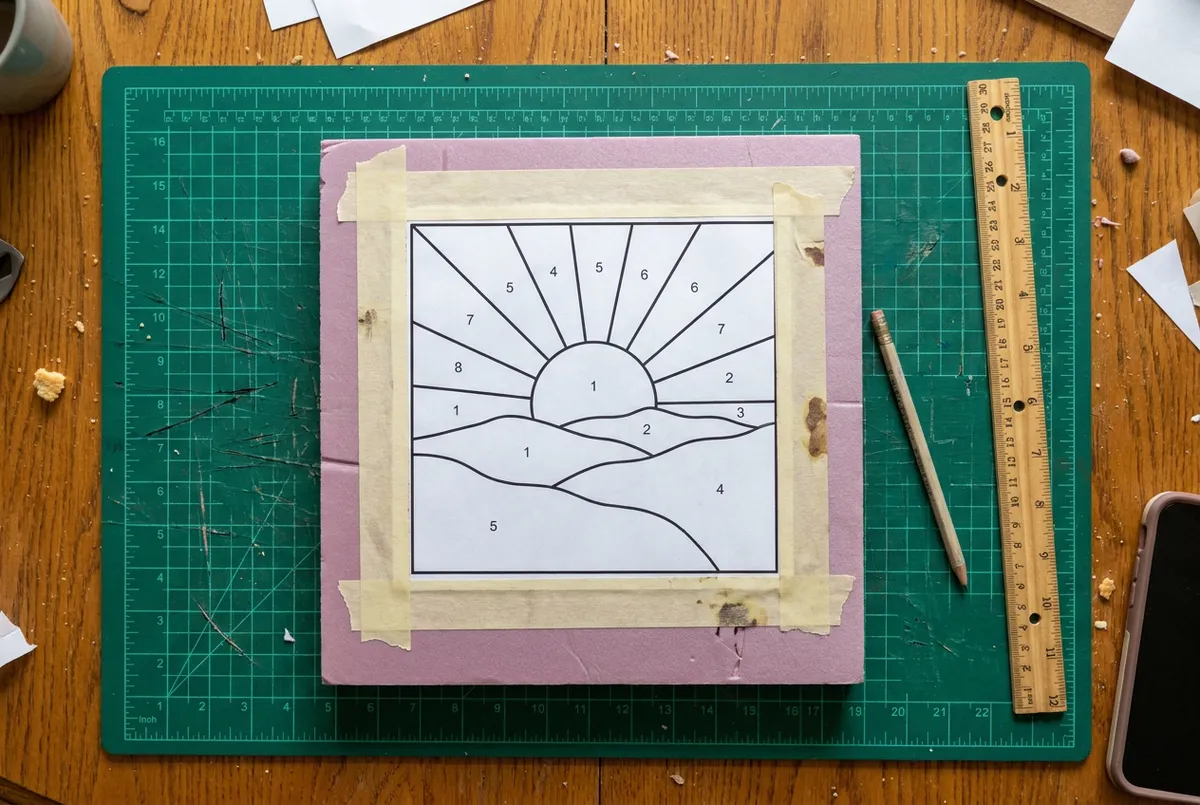 1
Stick, print, tape
Stick a double-sided adhesive sheet on the foam, keep its liner on, then tape the cut map printed at 100 % on top.
8 × 8 in board, 1 in thick XPS
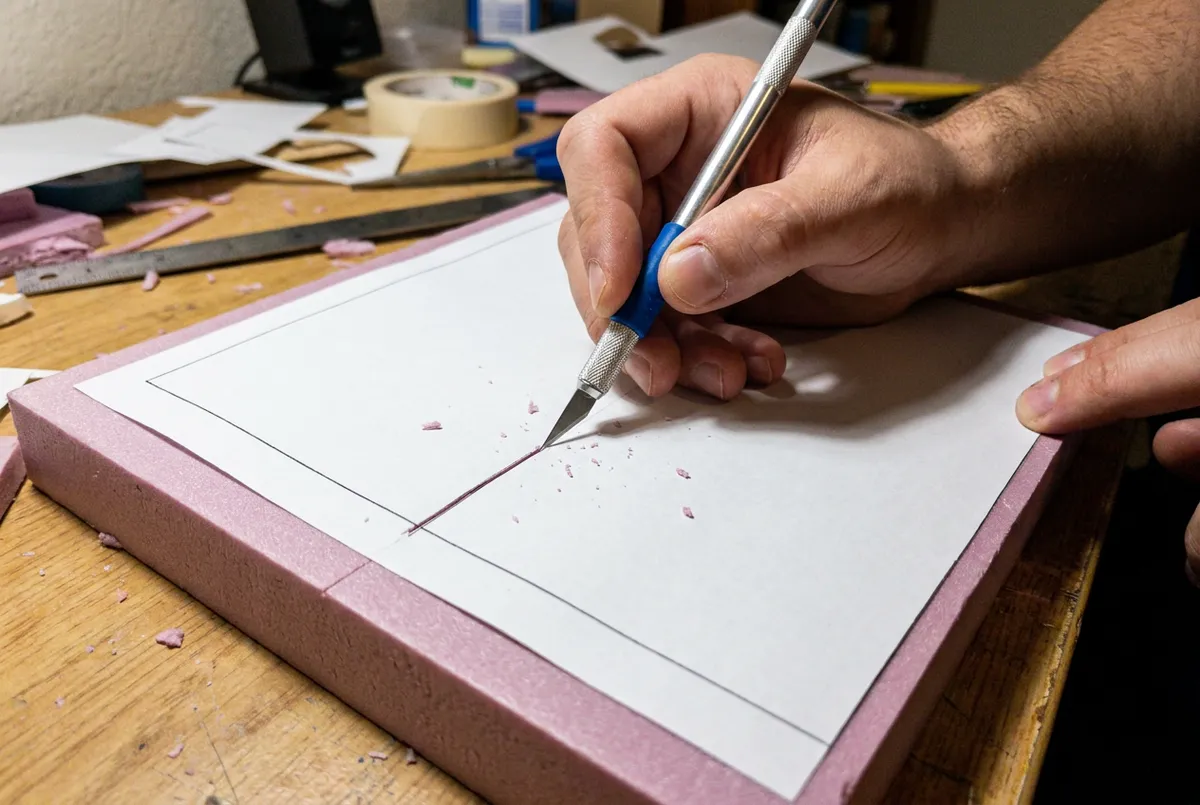 2
Score every line
Cut through paper, liner and sheet along each line with a fresh #11 blade. Light strokes; angle the blade under sharp points.
Grooves about ¼ in (6 mm) deep
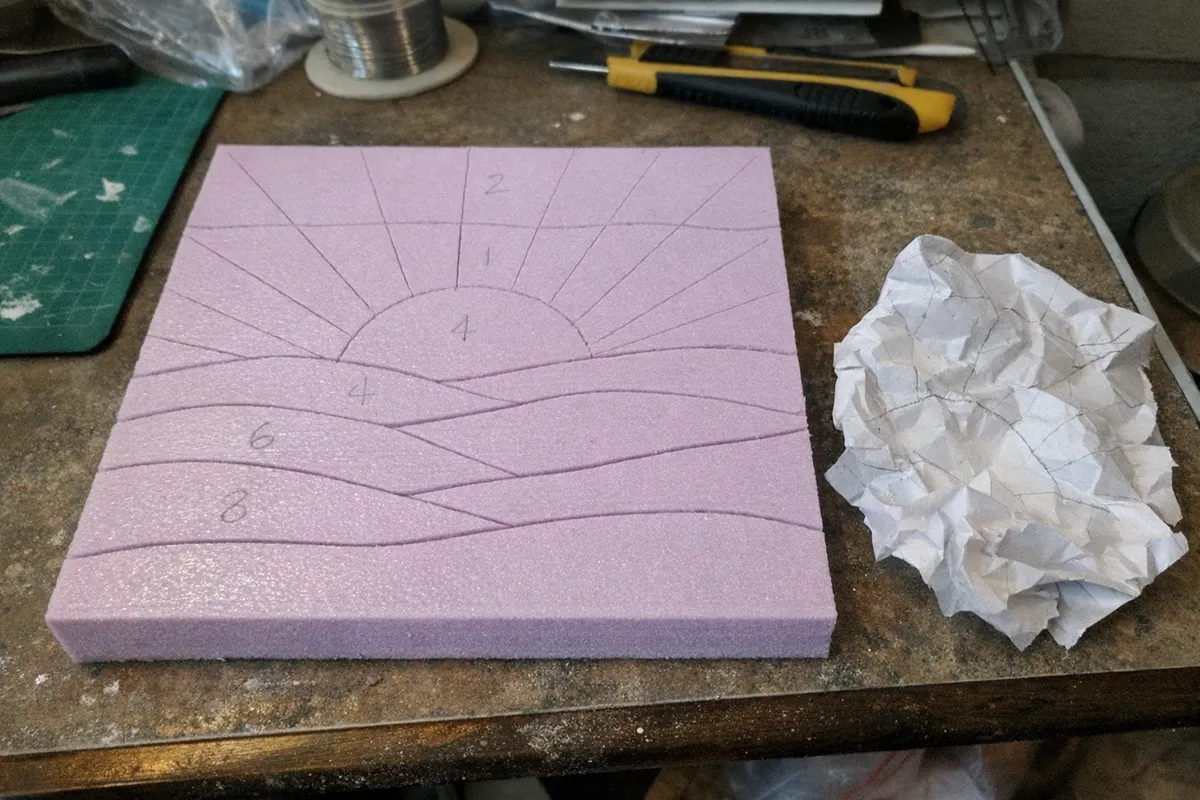 3
Peel one piece at a time
Lift the paper and liner of one piece only. Keep a second print as your map: once the foam is bare, shapes look alike.
The paper piece is your template
 4
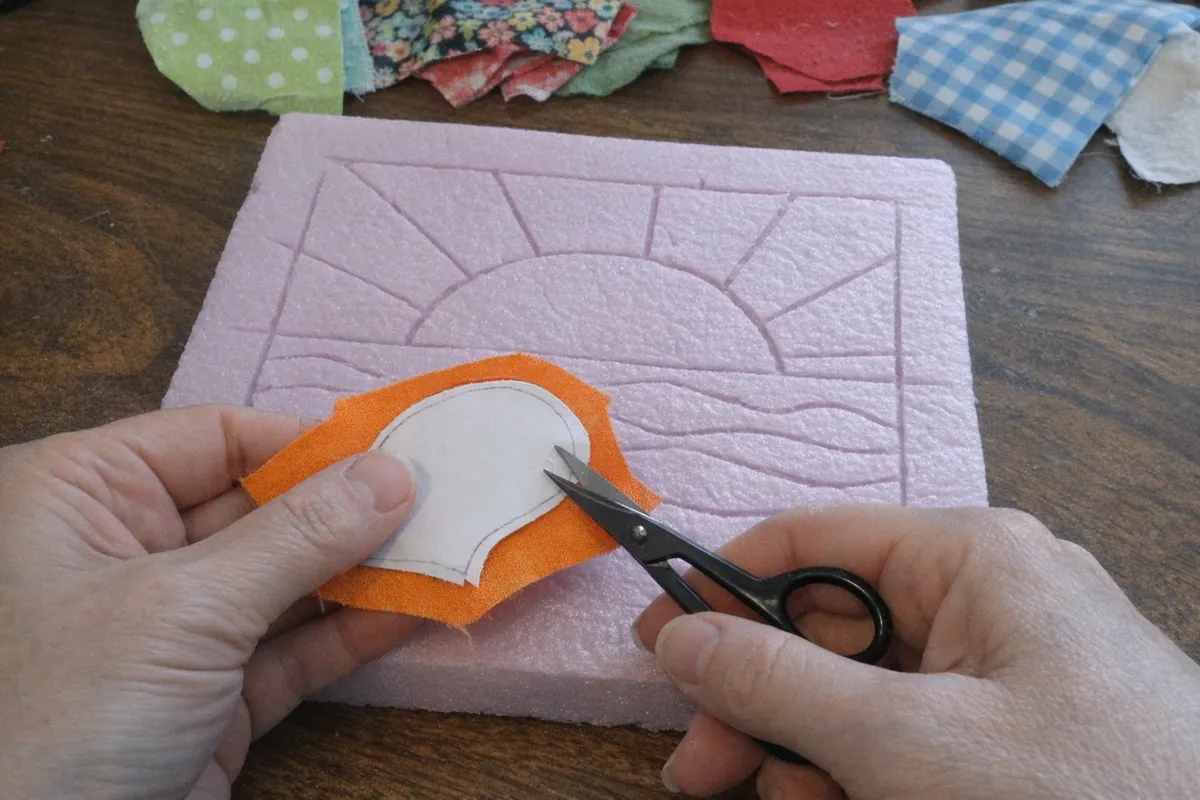
Cut the fabric
Lay the paper piece face up on the fabric and cut around it with a margin. Edge pieces need extra to wrap the side.
¼ to ½ in margin, edge pieces 1 in
 5
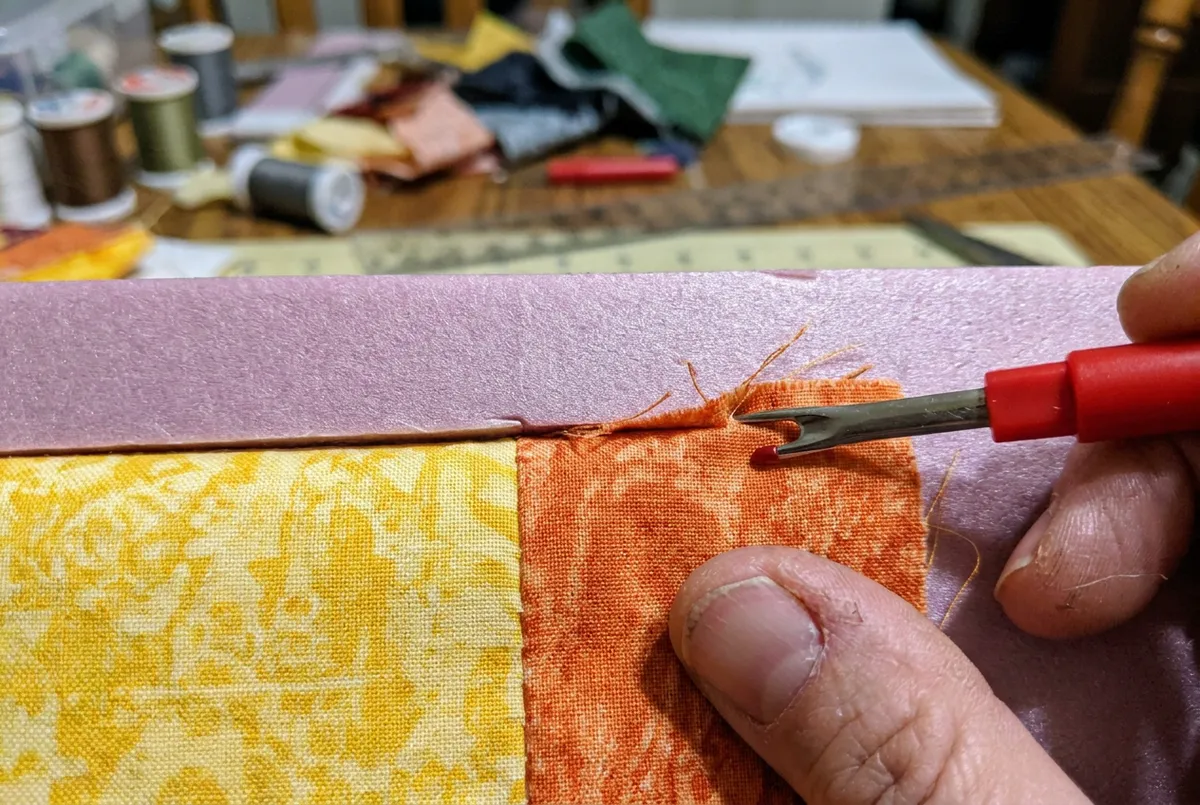
Tuck with light strokes
Press the fabric on the sticky shape and push its edges into the grooves with the flat back of a seam ripper, opposite sides in turn.
Trim to ⅛ in before the final push
 6
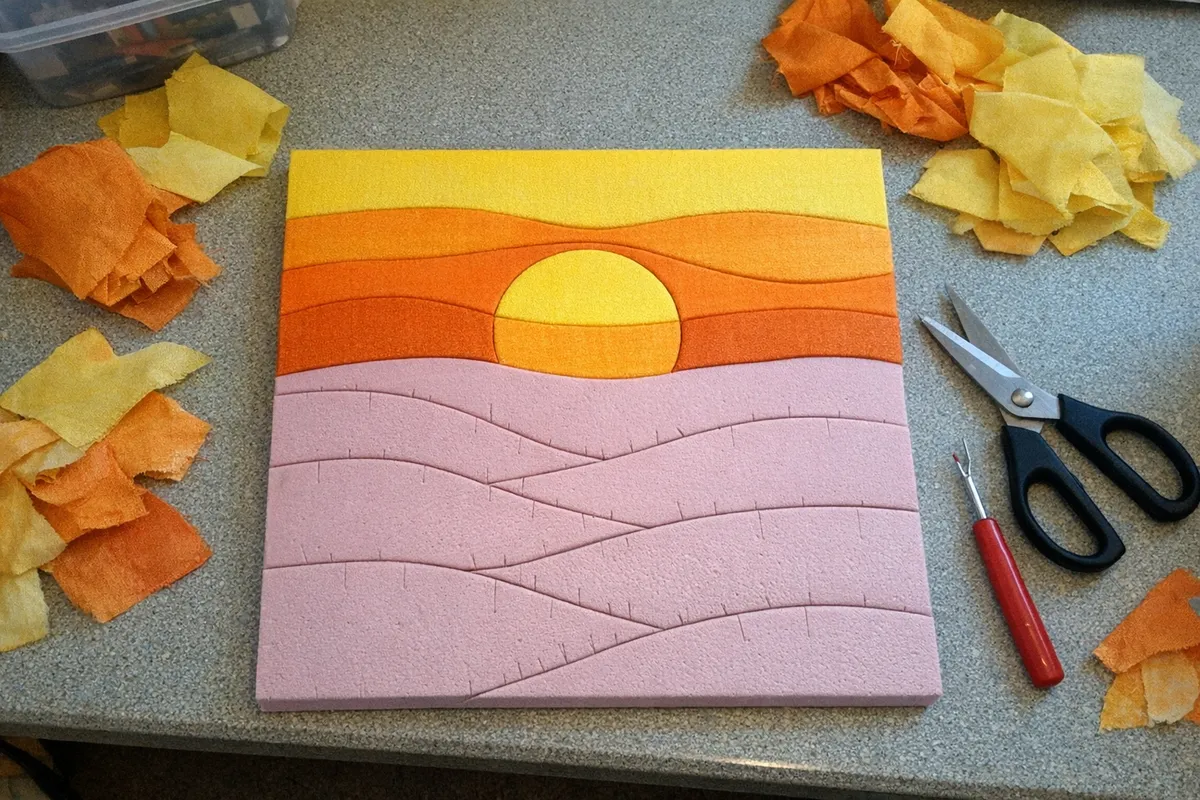
Big pieces first, edges last
Fill the background first and small details last, then finish the board edges. Push into corners, never away from them.
Simple 8 in board: about 1½ to 2 h